
Montana: Bozeman & Glacier National Park

Hello Montana, it’s nice to see you again! Home of two incredibly well-known National Parks, Montana’s full of diverse terrain, snow-capped peaks, and beautifully blue-colored lakes. Visiting Bozeman was surreal after watching TV series Yellowstone that’s based near the area. The real star of this trip though was Glacier National Park! Glacier has been at the top of my list for quite some time now so I was very excited to visit!
BEFORE ARRIVAL
Select specific dates that you’d like to visit. Now, check to see if those dates either fall inside the “vehicle entrance pass required” dates or not here. If they do, keep reading. If not, lucky you! Feel free to skip!
Select which part of the park you’ll be visiting (depends on the hikes you want to do). There are 4 different sections of the park you need to purchase a vehicle pass for - Going to the Sun Road (3-day pass), Many Glacier (1-day pass), North Fork (1-day pass) or Two Medicine (1-day pass).
Once your dates are selected, check out the NPS website here to figure out when your reservation date goes live (which is 3 months before arrival).
Once the reservation date goes live, select your date(s) and purchase the vehicle pass(es) that cost $2.
FYI - if you do not obtain a reservation during this time, don’t panic yet! The NPS only releases a certain # of tickets in advance and saves another chunk to release 24 hours before your selected date. (This is what we had to do).
OUR ITINERARY


DAY 1 - Bozeman, MT
First, we woke up early in order to secure a vehicle entrance pass to Glacier National Park for the back end of our trip. I don’t recommend doing this, but we planned this trip less than 3 months out so we didn’t have a choice! At 8am MST, we obtained a 3-day Going-to-the-Sun-Road vehicle pass which was a huge relief! NOTE: If we didn’t obtain a pass, we would have had to arrive at Glacier before 6am or anytime after 3pm because you do not need to purchase a vehicle pass and you can enter the park without one.
DOWNTOWN BOZEMAN
Breakfast at Jam!
Walk the strip and check out the shops.
Brewery Hop - Mountains Walking Brewery and Montana Ale Works. In Montana, their slushee beers/seltzers on tap are actual icee/slushees which were very delicious!
Bozeman Hot Springs


HYALITE RESERVOIR
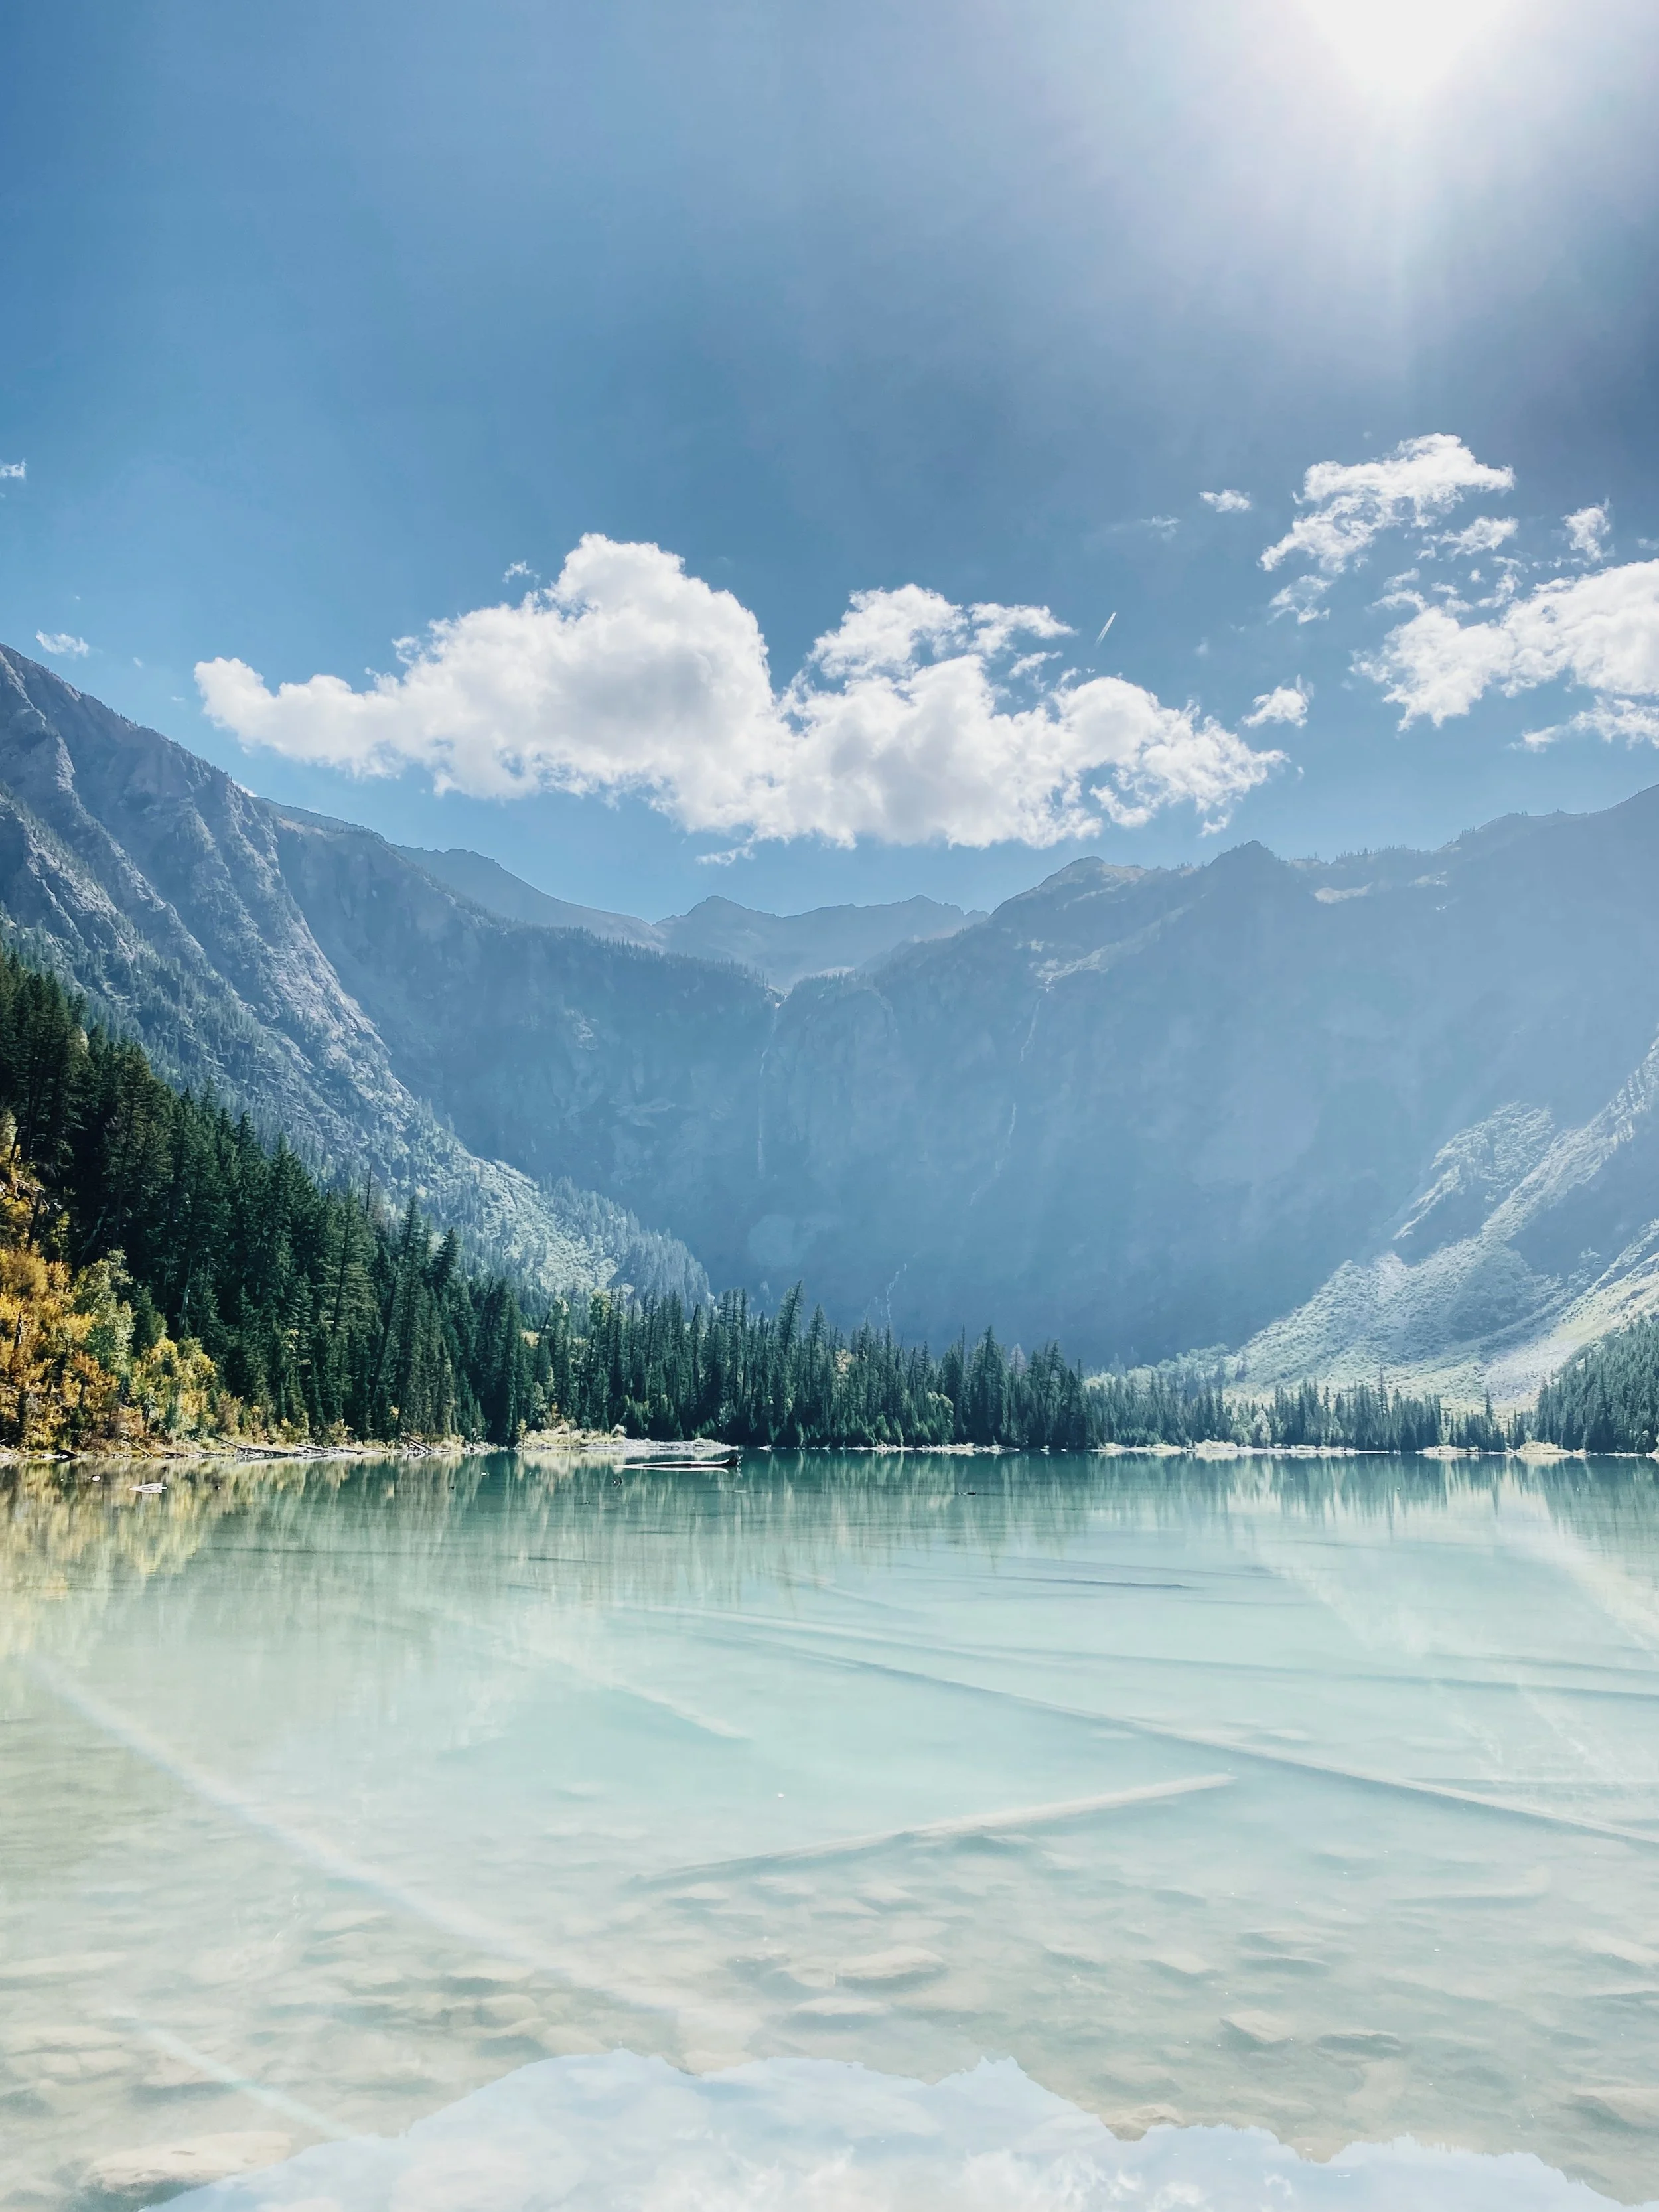
Located about 12 miles south of Bozeman, this beautiful reservoir is situated in Hyalite Canyon. It’s full of campsites, great for those who enjoy paddle boarding or kayaking and is a nice place to walk for some peace & quiet.
DAY 2 - Partial Travel Day; Destination: Whitefish, MT
It was a very uneventful day driving 5.5 hours to Whitefish, MT. Once we arrived, we grabbed a quick bite at Bonsai Brewing. There’s nothing like a crisp, cold beer after a long drive or long hike!
After getting settled into our Airbnb, we headed to Downtown Kalispell. There, we walked the strip that’s full of shops, drank a brew at Bias Brewing then ended the night at the famous Moose Saloon. The saloon was an incredible experience full of tasty pizza and peanut shells on the floor, a true local spot. We definitely recommend hitting this spot when in Kalispell.
DAY 3 - Glacier National Park, Going-to-the-Sun-Road


HIGHLINE TRAIL/GRANITE PARK CHALET
Trailhead: Logan Pass Visitor Center or The Loop
Elevation gain: 2300 ft
Total Milage: 12-13 miles, point-to-point
The Highline Trail is a point-to-point trail meaning you start at one place and end the hike at another. You can either start at Logan Pass (trailhead) or The Loop (end of trail) and take the shuttle back to your parked car. We parked our car at Logan Pass and took the shuttle back from The Loop once we finished. If you’re extremely ambitious, you can hike it roundtrip, but one-way (including the 0.6 mile addition to Glacier Overlook) is 12.4 miles already.
OUR ROUTE
Parked at Logan Pass, started at Highline Trailhead
Hiked about 5-6 miles until we reached a divide in the trail where you can add additional 0.6 miles up to Glacier Overlook (which we proceeded to do). There, we ate our packed lunch at the top overlooking the Glacier. NOTE: This is where a big chunk of the elevation comes into play.
Continued on towards Granite Park Chalet (7.6 miles in) where we took a rest and enjoyed the 360 views.
From the Chalet, it was 4.2 miles down to The Loop (the end). From The Loop, we hopped on a shuttle bus that brought us back to our car at Logan Pass.
NOTE: Glacier National Park’s shuttle service operates from 9am - 5pm daily. Make sure you time out how long you’ll be hiking each day so that if you need to use the shuttle at all, you arrive back to catch it before 5pm.

Post hike, we attended Columbia Falls Rodeo! It was a blast and so happened to be the last one of the year so it was their ‘Championship’ night so the best of the best competed!
DAY 4 - Glacier National Park, Going-to-the-Sun-Road

AVALANCHE LAKE
Trailhead: Avalanche Picnic Area - Take Trail of the Cedars (0.7 miles) until you reach the Avalanche Lake Trailhead (2.3 miles, one way)
Elevation gain: 500 ft
Total Milage: 6 miles roundtrip, out & back to Trail of Cedars then it’s a loop
Avalanche Lake was unlike any of the other trails we did at Glacier - full of greenery, tall trees and was alongside a creek. The trail opened up to the lake with a giant beach to sit and admire the view. We even got to see a small bear in the distance going for a dip in the water!
After hiking Avalanche Lake, we took the shuttle back to Lake McDonald Lodge (where we parked our car) for lunch. We sat on a park bench right next to the lake enjoying our sandwiches, fruit and popcorn. Lake McDonald Lodge is a great place to stay inside the park and offers tours for folks who don’t want to hike but still want to see the incredible views Glacier has to show off! Once we finished lunch, we drove up to Logan Pass for our next hike - Hidden Lake Overlook.


HIDDEN LAKE OVERLOOK
Trailhead: Logan Pass Visitor Center
Elevation gain: 460 ft
Total Milage: 3 miles roundtrip, out & back
If you made me pick a favorite hike, this might have been it! The trail wasn’t anything special, but man was the view! The trail was paved and opened up to this stunning panoramic view of Hidden Lake. We even made a couple mountain goat friends along the way (pictured above)!
After completing this beautiful hike, we headed back to Whitefish for dinner. We ended up at Bulldog Saloon in Downtown Whitefish for some wings and Sunday night football. For dessert (of course we can’t skip it!), we drove a couple miles down the road to The Lodge at Whitefish Lake for their famous Huckleberry Mud Pie. Let me tell you, I understand now why it’s famous! Huckleberry is what Montana is known for and having it in dessert form sure was tasty!

Huckleberry Mud Pie
DAY 5 - Glacier National Park, Many Glacier
NOTE: September 10th was the last day of the season you needed to purchase any vehicle entrance passes so we didn’t need a pass for Day 5. If we would have hiked Many Glacier during the vehicle entrance pass timeframe window, we would have also had to purchase the Many Glacier 1-day pass.


GRINNELL GLACIER VIEWPOINT
Trailhead: Grinnell Glacier Trailhead
Elevation gain: 1,600 ft
Total Milage: 10.6 miles roundtrip, out & back
OR
Trailhead: Many Glacier Hotel - Hop on a concession boat (tour fees apply and reservations highly recommended)
Elevation gain: 1,600 ft
Total Milage: 7.2 miles roundtrip, out & back + boat ride
Known for its wildlife, Many Glacier is another section of the park full of amazing trails! The reason there’s two ways to hike this trail is because you can shave off a couple miles by taking a boat/small ferry across 2 of the lakes you hike alongside. We chose to hike the whole thing, however, we did see the boat crossing one of the lakes full of people.
Some of the photos might look familiar from the Highline Trail - the Grinnell Glacier is the bottom of the view we saw from the top (Glacier Overlook) on the Highline Trail. See images below.

At the Top - Glacier Overlook via Highline Trail

At the Bottom - Grinnell Glacier Viewpoint
DISCLAIMER: This hike was rated ‘moderate’, however I’d say it was challenging. The most challenging part is the last 0.4 miles which is straight uphill stairs to the top of the viewpoint.
Once we completed this spectacular hike, we made our way back to Whitefish for some delicious chips + guac and some margaritas at Jalisco Cantina. Cheers to one amazing trip!

DAY 6 - Travel Day; Destination: Wisconsin
Drive back to Bozeman > Quick bite to eat at Longhorn Saloon near Airport > Fly Home